How to Do Facial At-Home (BEST FACIAL AT HOME REMIDIES (2025))
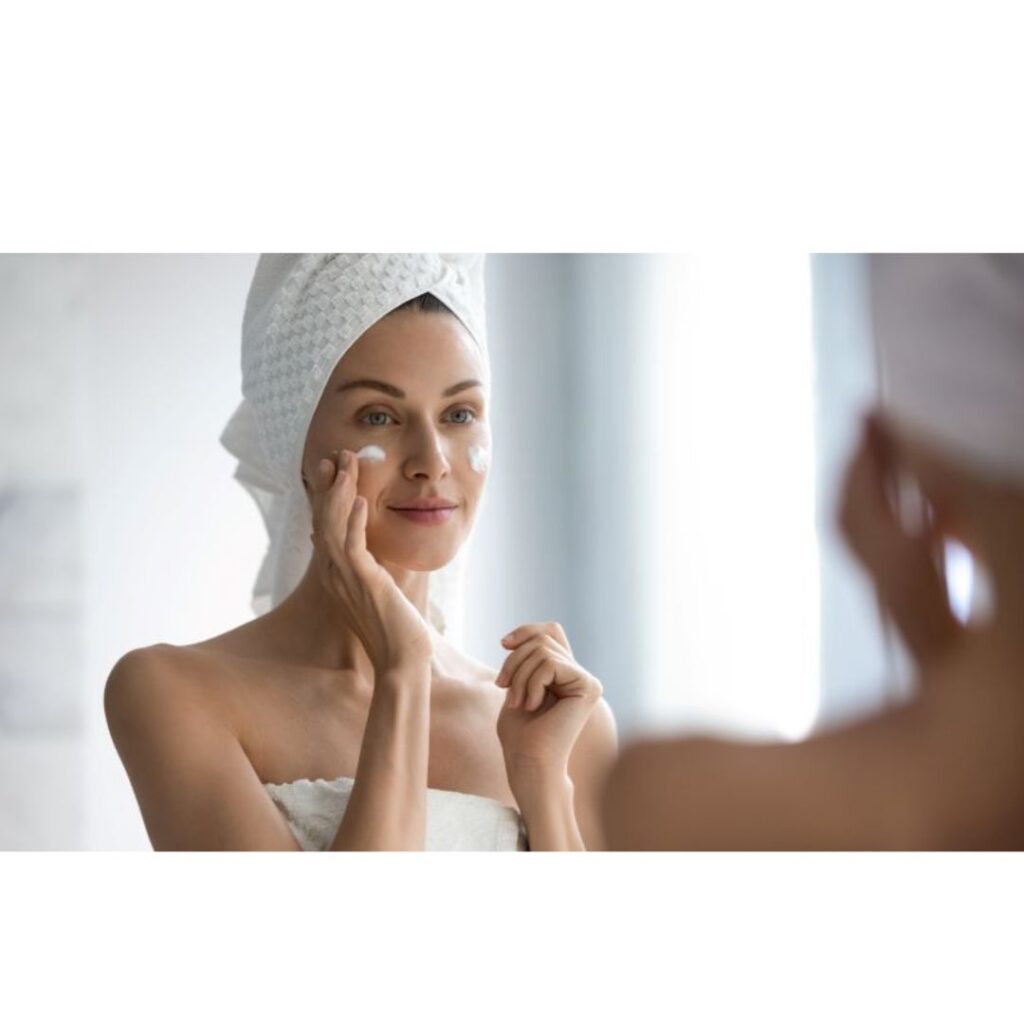
Everyone loves the post-facial glow that comes from a spa visit, but did you know you can recreate that luxunious treatment right at home? With the right products, techniques, and a little patience, your bathroom can turn into your personal spa. Whether you’re looking to pamper your skin, prep for a special event, or maintain a radiant complexion, an at-home facial is a game- changer. Here’s a detailed step-by-step guide on how to do an at-home facial just like the beauty pros.
Why You Should Do Facial at Home (BEST FACIAL AT HOME REMIDIES (2025))
✅ Cost-Effective
Salon facial can be expensive, especially if done regularly. At-home facial cost a fraction of the price and deliver similar results with the right technique.
✅ Customizable for Your Skin
You get to choose products that suit your specific skin type-be it dry, oily, acne-prone, or sensitive.
✅ Convenience
You don’t need to book appointments or wait in line. You can do it at your convenice, any time, any day.

What You’ll Need (BEST FACIAL AT HOME REMIDIES (2025))
- Gentle cleanser
- Exfoliator (physical or chemical)
- Facial steamer or bowl with hot water and towel
- Face mask (clay, sheet, gel, or cream-based)
- Toner
- Serum (Vitamin C, hyaluronic acid, etc)
- Moisturizer
- Face oil (optional)
- Sunscreen (if done during the day)
- Clean face towels or tissues
- Headband or hair clips
Step-by-Step Guide to a professional At-Home Facial (BEST FACIAL AT HOME REMIDIES (2025))
🧴Step 1: Cleanse Thoroughly
Start with a clean canvas. Use a gentle, sulfate-free cleanser suitable for your skin type. This removes dirt, oil, and makeup.
Pro Tip: ( Try double cleansing if you wear heavy makeup—–use an oil-based cleanser followed by a water-based cleanser.)
🧽Step 2: Exfoliate to Remove Dead Skin
- Physical exfoliants: Scrub with tiny granules (use gently).
- Chemical exfoliants: AHAS (like glycolic acid) or BHAS (like salicylic acid) work more effectively and are less abrasive.
Pro Tip: (Use chemical exfoliants for a spa like finish.)
💨 Step 3: Steam to Open Up Pores
- Use a facial steamer.
- Boil water, pour into a bowl, and cover your head with a towel for 5-10 minutes.
Pro Tip: (Add herbs like chamomile or green tea for added benefits and aroma)
🔍 Step 4: Optional – Blackhead extraction
If you have blackheads or clogged pores, this is the time to remove them gently using a clean extractor tool or tissue- covered fingers.
Warning: (Don’t force anything. Improper extraction can lead to scarring or infection.)
🧖♀️ Step 5: Apply a Face Mask
- Clay mask: for oily or acne-prone skin.
- Hydrating gel mask: for dry skin.
- Sheet mask: for a quick, refreshing boost.
- Enzyme or brightening mask: for dull skin.
Leave it on 10-20 minutes and relax.
Pro Tip: (Chill sheet masks in the fridge for a refreshing experience.)
💧 Step 6: Tone the Skin
Toners help balance your skin’s pH and remove any leftover residue.
. Use alcohol-free toners with ingredients like rose water, witch hazel, or green tea.
Gently pat the toner in with your fingers or apply with a cotton pad.
💉 Step 7: Apply a Serum
1: Vitamin C: Brightens and fights pigmentation.
2: Hyaluronic Acid: Hydrates and plumps.
3: Niacinamide: Controls oil and improves texture.
4. Retinol: (Night use only) Fights aging and acne.
Pro Tip: Press the serum gently into the skin for better absorption.
🧴Step 8: Moisturize
. Cream-based moisturizers for dry skin.
. Gel-based moisturizers for oily or combination skin.
✨ Step 9: Add a Facial Oil (Optional)
. Use oils like argan, rosehip, or jojoba.
. Apply a few drops and massage it in using upward strokes.
Pro Tips: Do a mini facial massage to improve blood flow and boost glow.
🌞 Step 9: Apply Sunscreen (Daytime Only)
. Use a broad-spectrum sunscreen (SPF 30 or higher).
Skipping sunscreen can undo all your facial benefits.
Pro-Level Facial Massage Techniques
Give yourself a spa-like feel with these massage tips:
🖐️ Use Gentle Upward Strokes
Always move from bottom to top to avoid pulling the skin down.
🔄 Circular Motions
Use circular motions on cheeks and forehead to promote circulation.
💆 Pressure Points
Apply gentle pressure to temples, jawline, and under the eyes.
Tools like jade rollers or gua sha can enhance the massage exoerience.
How Often Should You Do At-Home Facials?
. Once a week for general maintenance.
. Twice a month for deep treatments or if dealing with dullness or breakouts.
. Avoid over-exfoliating- stick or once or twice a week max.
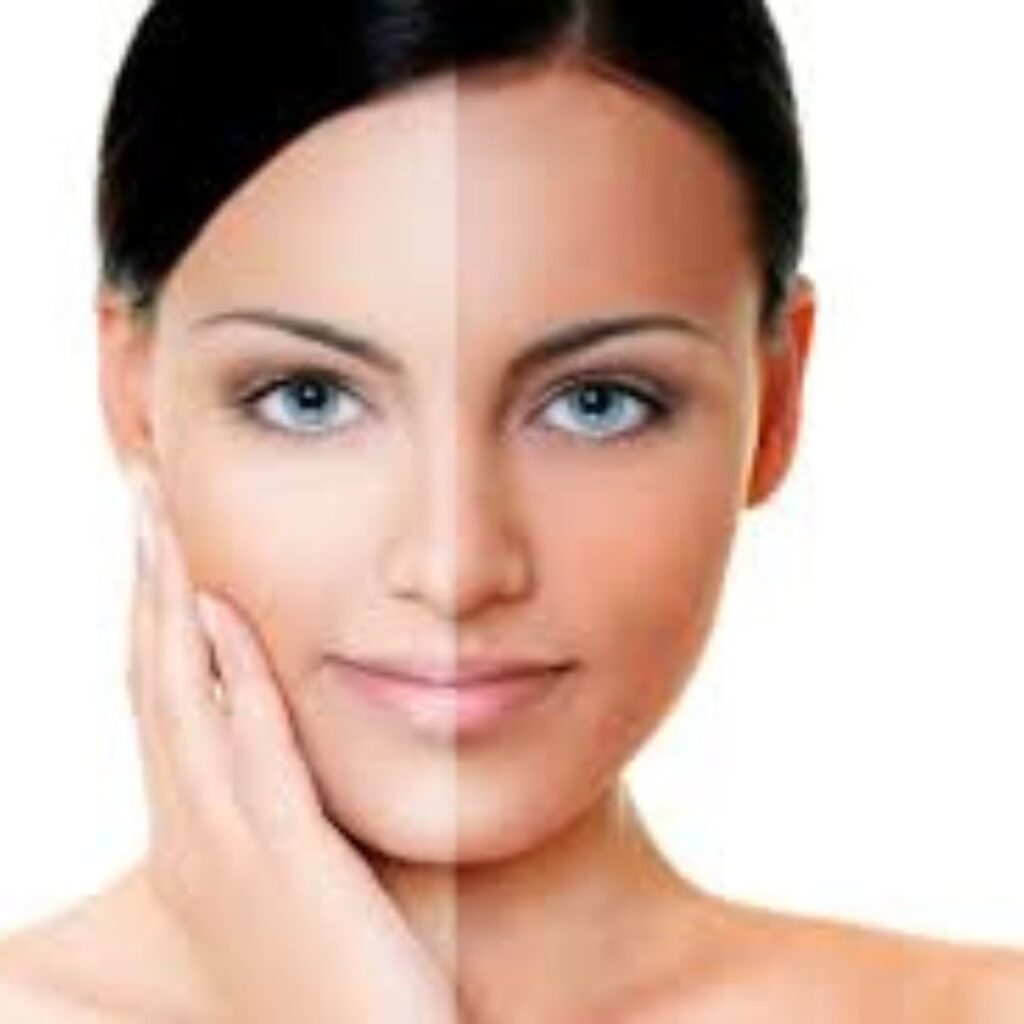
Custom Facial Routine for Different Skin Types (BEST FACIAL AT HOME REMIDIES (2025))
🟢 Oily/ Acne-Prone Skin
. Use salicylic acid cleanser.
. Clay mask to reduce oil.
. Niacinamide serum for oil control.
. Lightweight gel moisturizer.
🔴 Dry Skin
. Cream-based cleanser.
. Hydrating gel or cream mask.
. Hyaluronic acid serum.
. Nourishing moisturizer+ oil.
🟠 Combination Skin
. Gentle cleanser.
. Exfoliate T-zone only
. Multi-masking: clay on T-zone, hydration on cheeks.
. Balanced moisturizer.
🔵 Sensitive Skin
. Fragrance-free products.
. Soothing masks (like oatmeal or aloe).
. Avoid harsh exfoliants.
. Use calming toner and serums (like Centella AsiaTICA).
Dos and Don’ts of At-Home Facials
✅ Dos:
. Always vleanse hands before touching your face.
. Patch-test new products.
. Use clean tools and towels.
. Follow up with SPF if heading out.
❌ Don’ts:
. Don’ts overdo exfoliation or extractions.
. Avoid using hot water directly on the face.
. Don’ts use expired or harsh products.

Conclusion: (BEST FACIAL AT HOME REMIDIES (2025))
Doing a facial at home doesn’t require professional training-just the right products and consistency. By following the steps above, you’ll notice brighter, softer, and healthier skin without even stepping out of your home. So the next time your skin feels dull or tired, pamper it the pro way-from your own bathroom.