How to Do Keratin Treatment at Home: A Complete Guide (Best Guide For Hair Keratin Treatment At Home)
Frizzy, unmanageable, or damaged hair can be a constant struggle, especially if you frequently style it with heat or undergo chemical treatments. One of the most effective solutions to tame frizz, boost shine, and strengthen your strands is a keratin treatment. While salon keratin treatments offer lasting results, they can be expensive. The good news? You can achieve similar results at home — safely and affordably.
This blog offers a step-by-step guide to doing keratin treatment at home, covering:
- What keratin treatment is
- Pros and cons of DIY keratin
- What you’ll need
- Detailed step-by-step process
- Aftercare tips
- Mistakes to avoid
- FAQs
What Is a Keratin Treatment? (Best Guide For Hair Keratin Treatment At Home)
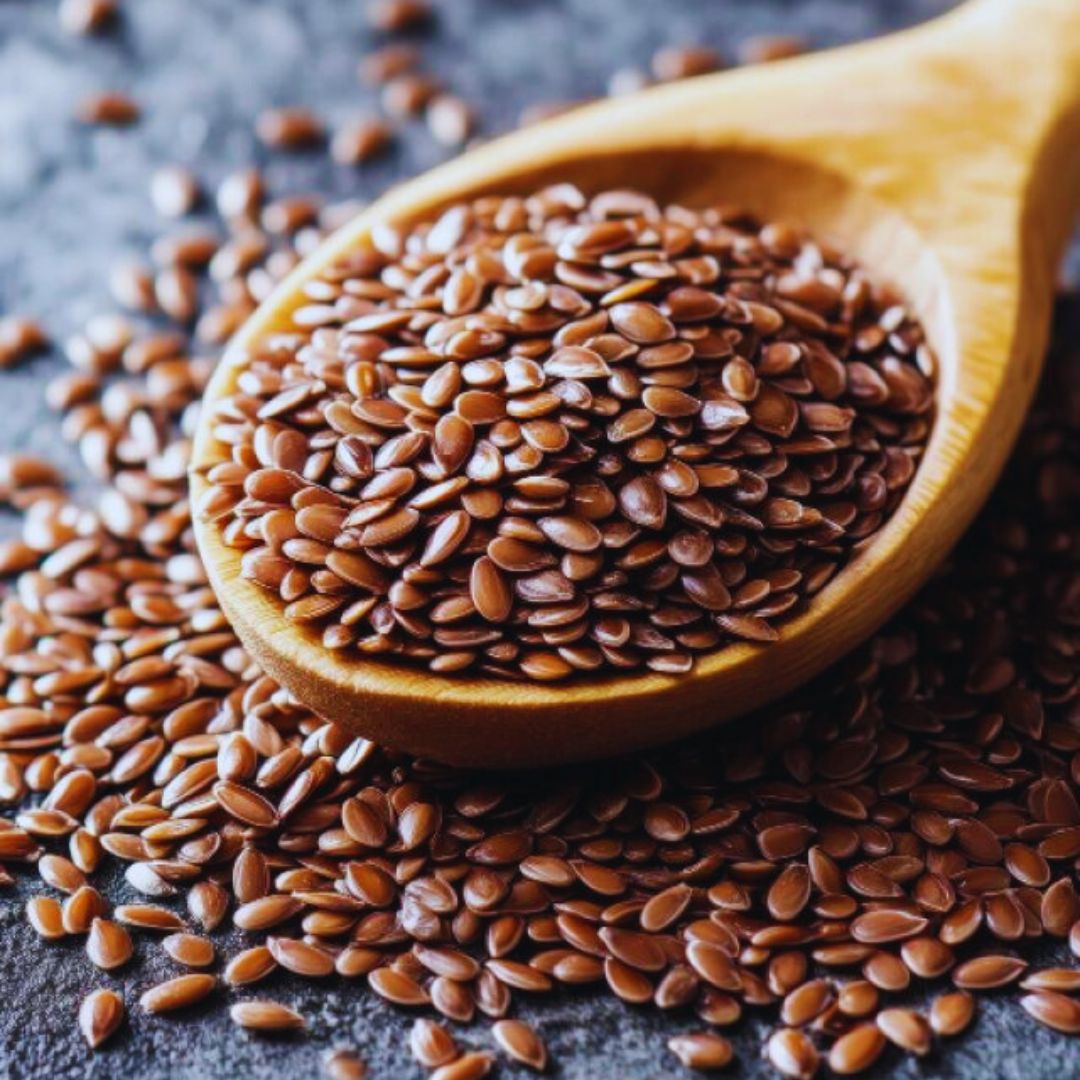
Keratin is a natural protein that makes up the structure of hair, nails, and skin. Over time, exposure to heat, styling, sun, pollution, and chemical treatments strips away this protein, leading to dryness, frizz, and breakage.
A keratin treatment works by replenishing this lost protein, sealing it into the hair cuticle using heat, and creating a smoother, shinier surface.
Salon treatments use professional-grade formulas, but at-home versions are widely available — from kits to keratin-rich masks and creams.

Benefits of At-Home Keratin Treatment (Best Guide For Hair Keratin Treatment At Home)
✅ Cost-effective
✅ Convenient — no salon appointment needed
✅ Tames frizz and flyaways
✅ Makes hair smoother and shinier
✅ Strengthens strands and reduces breakage
✅ Speeds up blow-drying and styling
✅ Suitable for most hair types
Things to Keep in Mind (Best Guide For Hair Keratin Treatment At Home)
- At-home treatments may not last as long as professional ones (typically 3–6 weeks).
- Results depend on your hair type and the product used.
- Always check if the product is formaldehyde-free or contains safe levels of formaldehyde derivatives.
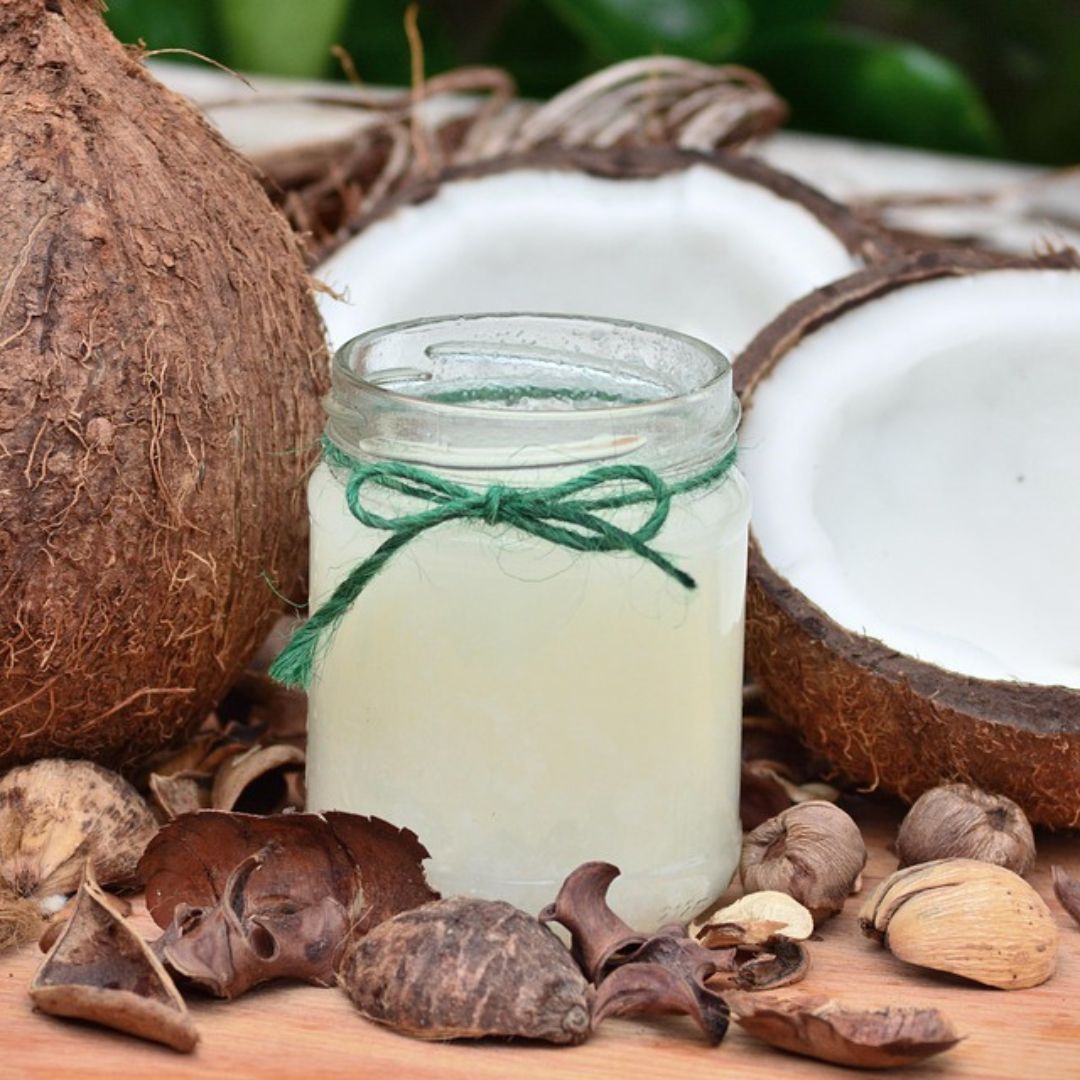
What You’ll Need (Best Guide For Hair Keratin Treatment At Home)
Before beginning your at-home keratin treatment, gather the following supplies:
Essential Tools:
- A clarifying shampoo (to prep your hair)
- A keratin treatment product (serum, cream, or mask)
- A wide-tooth comb
- A hair dryer
- A flat iron (reaches 230°C/450°F for sealing the keratin)
- Sectioning clips
- Gloves (to protect your hands)
💡 Optional: A mixing bowl and brush for easier application.
Step-by-Step Guide to Doing Keratin Treatment at Home (Best Guide For Hair Keratin Treatment At Home)
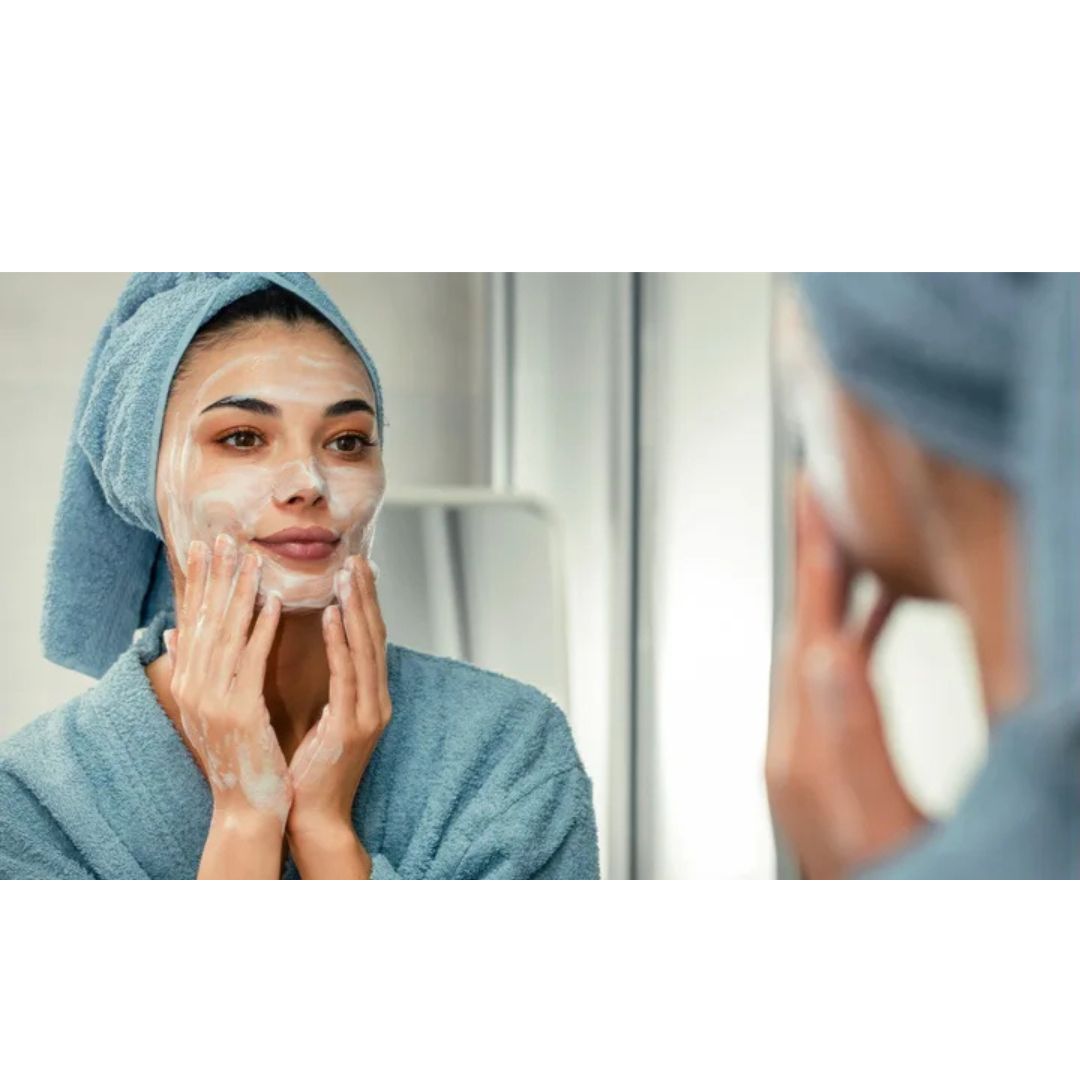
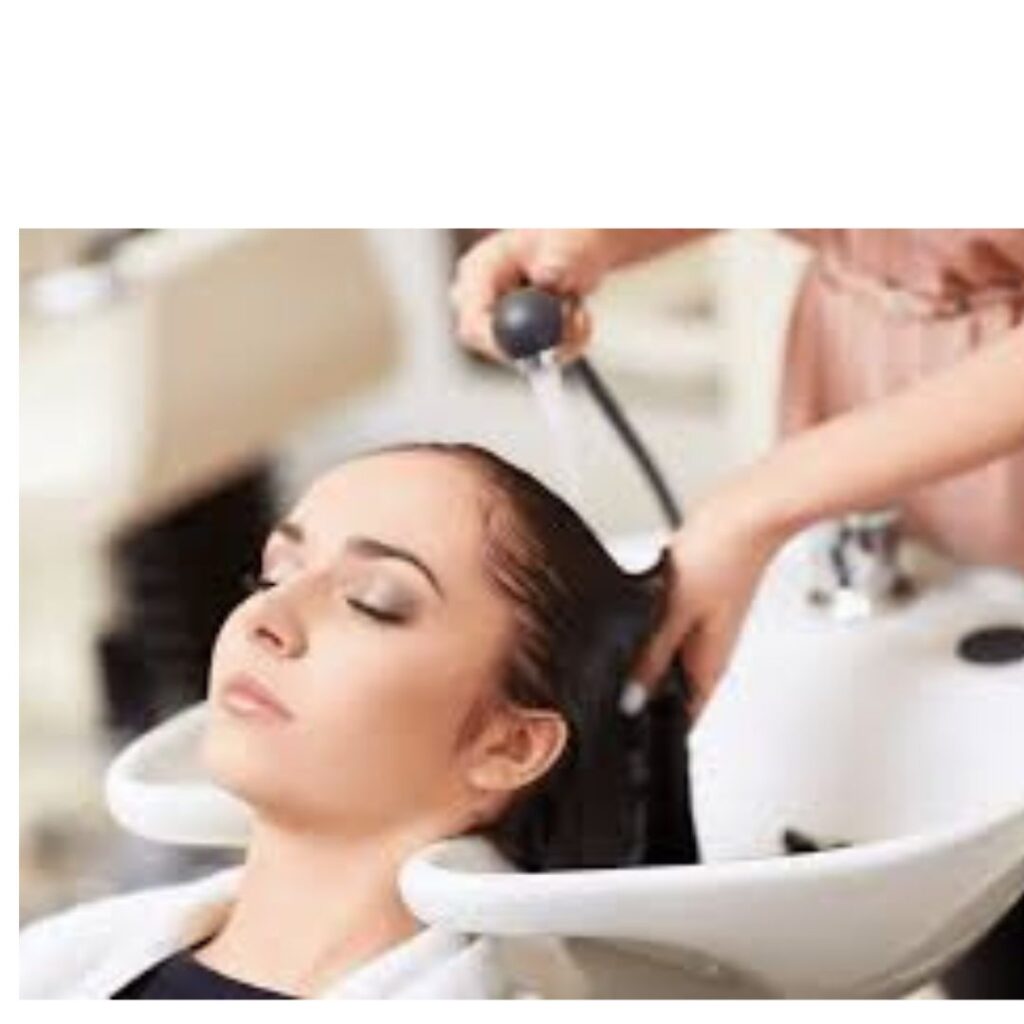
Step 1: Wash with Clarifying Shampoo Best Guide For Hair Keratin Treatment At Home
The first and most important step is to deep clean your hair. A clarifying shampoo removes product buildup, oils, and impurities so the keratin can fully penetrate the hair shaft.
- Wet your hair thoroughly.
- Apply clarifying shampoo and massage well.
- Rinse and repeat if necessary.
- Do not apply conditioner.
- Towel dry until damp — not dripping wet.
✅ Tip: Let your hair air-dry slightly until it’s about 80% dry before moving on.

Step 2: Section Your Hair (Best Guide For Hair Keratin Treatment At Home)
- Divide your hair into 4–6 sections using clips.
- This helps ensure even application and prevents tangling.
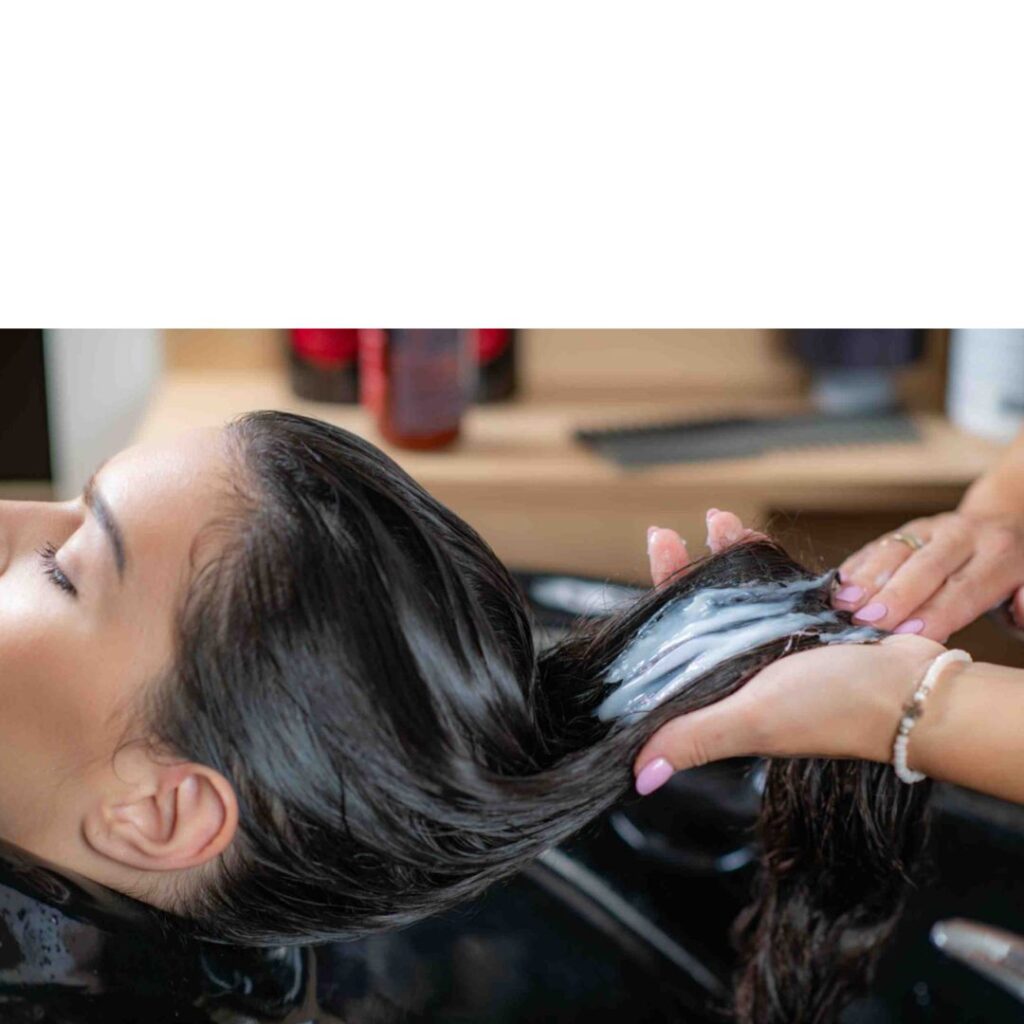
Step 3: Apply the Keratin Treatment (Best Guide For Hair Keratin Treatment At Home)
- Shake the product well if needed.
- Wearing gloves, start applying the keratin treatment section by section using your fingers or a brush.
- Coat each strand evenly from root to tip, avoiding your scalp.
- Use a fine-tooth comb to distribute the product and remove excess.
❗ Don’t oversaturate the hair — too much product can make your hair sticky or greasy.
Step 4: Let the Product Sit (Best Guide For Hair Keratin Treatment At Home)
Let the treatment sit for 20–30 minutes (or as directed on the product packaging). Avoid touching or tying your hair during this time.
⏳ This step allows the keratin to bond with your hair cuticles.
Step 5: Blow-Dry Your Hair (Best Guide For Hair Keratin Treatment At Home)
- Blow-dry your hair completely using medium heat.
- Use a paddle brush or round brush to straighten as you dry.
⚠️ Do not wash the hair after applying keratin; drying locks it into the strands.
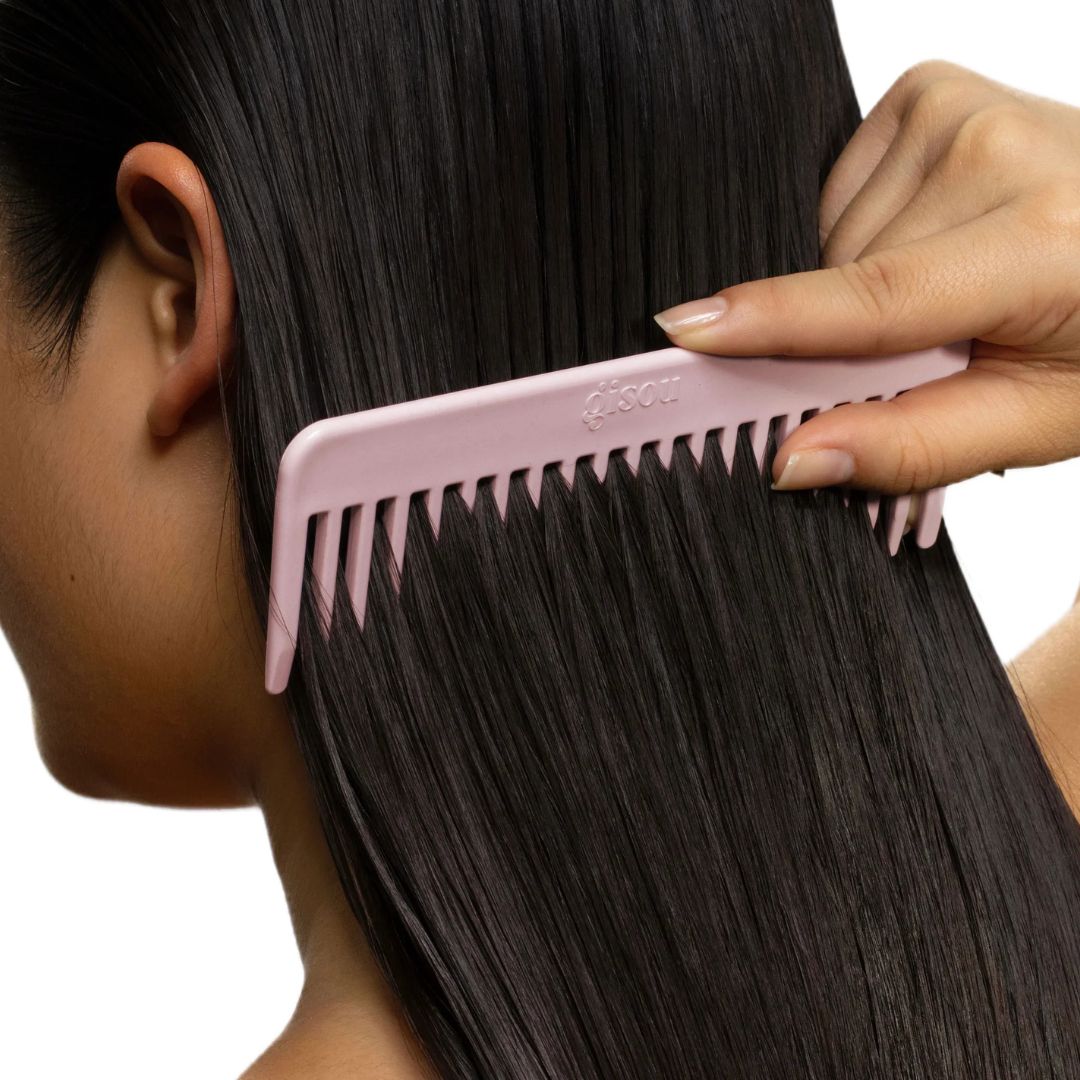
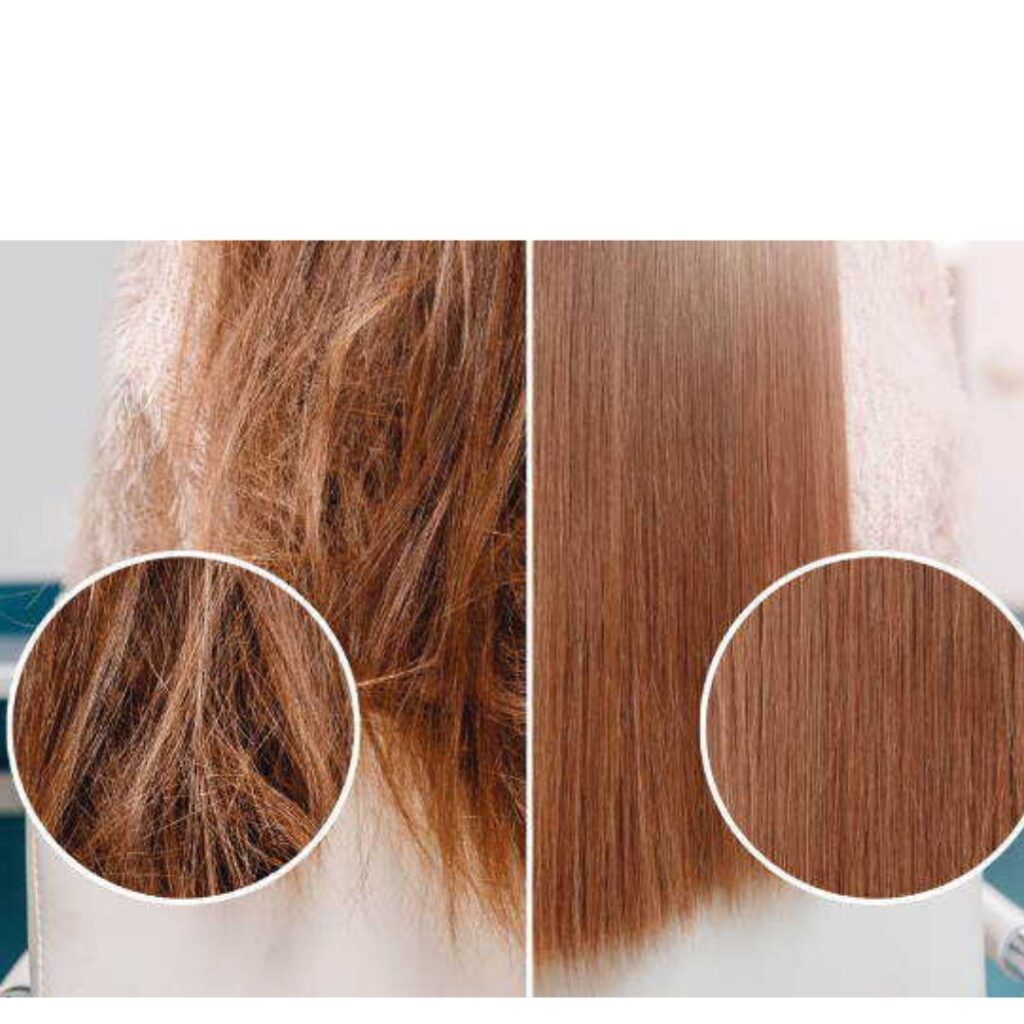
Step 6: Seal the Keratin with a Flat Iron (Best Guide For Hair Keratin Treatment At Home)
- Once dry, straighten small sections of your hair using a flat iron heated to 230°C (450°F).
- Pass the flat iron 5–8 times over each section.
- Focus on smoothing the hair cuticle and sealing the treatment in.
✅ This is the most crucial step. The heat activates and locks in the keratin.
Aftercare: How to Maintain Keratin-Treated Hair (Best Guide For Hair Keratin Treatment At Home)
Once you’ve completed your treatment, follow these care tips to extend its life:
First 48–72 Hours:
- Do not wash your hair.
- Avoid ponytails, clips, or tucking hair behind your ears.
- Avoid moisture, sweating, or rain exposure.
After 72 Hours:
- Use sulfate-free and sodium chloride–free shampoos and conditioners.
- Wash hair 2–3 times per week — not daily.
- Avoid chlorinated or salt water (swimming pools/ocean).
- Limit heat styling or use heat protectants.
- Use keratin-infused masks or serums once a week for added shine and strength.
🧴 Product tip: Try a keratin leave-in cream or oil for post-treatment nourishment.
Common Mistakes to Avoid (Best Guide For Hair Keratin Treatment At Home)
- Skipping the clarifying shampoo
→ Buildup blocks keratin absorption. - Applying too much product
→ Can lead to heavy, sticky, or greasy hair. - Not sealing with a flat iron
→ Without heat activation, the treatment won’t work. - Washing hair too soon after treatment
→ Wait at least 48–72 hours. - Using the wrong shampoo
→ Sulfates and salts will strip keratin quickly.
Is DIY Keratin Treatment Right for You? (Best Guide For Hair Keratin)Treatment At Home
✅ Best for:
- Wavy, frizzy, or dull hair
- Chemically treated or heat-damaged hair
- People on a budget
- Those who want smoother, shinier hair at home
🚫 Not ideal for:
- Very fine, limp hair (may weigh it down)
- Those allergic to formaldehyde or sensitive to strong smells
- Pregnant or nursing individuals (unless product is 100% safe)
Always do a patch test and read labels carefully.
Popular At-Home Keratin Treatment Brands (Best Guide For Hair Keratin Treatment At Home)
Here are some highly rated options for at-home use:
| Brand | Product Name | Formaldehyde-Free | Price Range |
|---|---|---|---|
| GK Hair | The Best Hair Taming System | ✅ Yes | ₹3000–₹5000 |
| Keraplastia | Brazilian Keratin Treatment | ❌ Contains small amounts | ₹1500–₹3000 |
| L’Oréal Professional | Xtenso Care Pro-Keratin | ✅ Yes | ₹1000–₹2000 |
| TRESemmé | Keratin Smooth Mask | ✅ Yes | ₹400–₹600 |
| OGX | Brazilian Keratin Therapy Range | ✅ Yes | ₹600–₹1500 |
Always read the ingredients and usage directions before purchase.
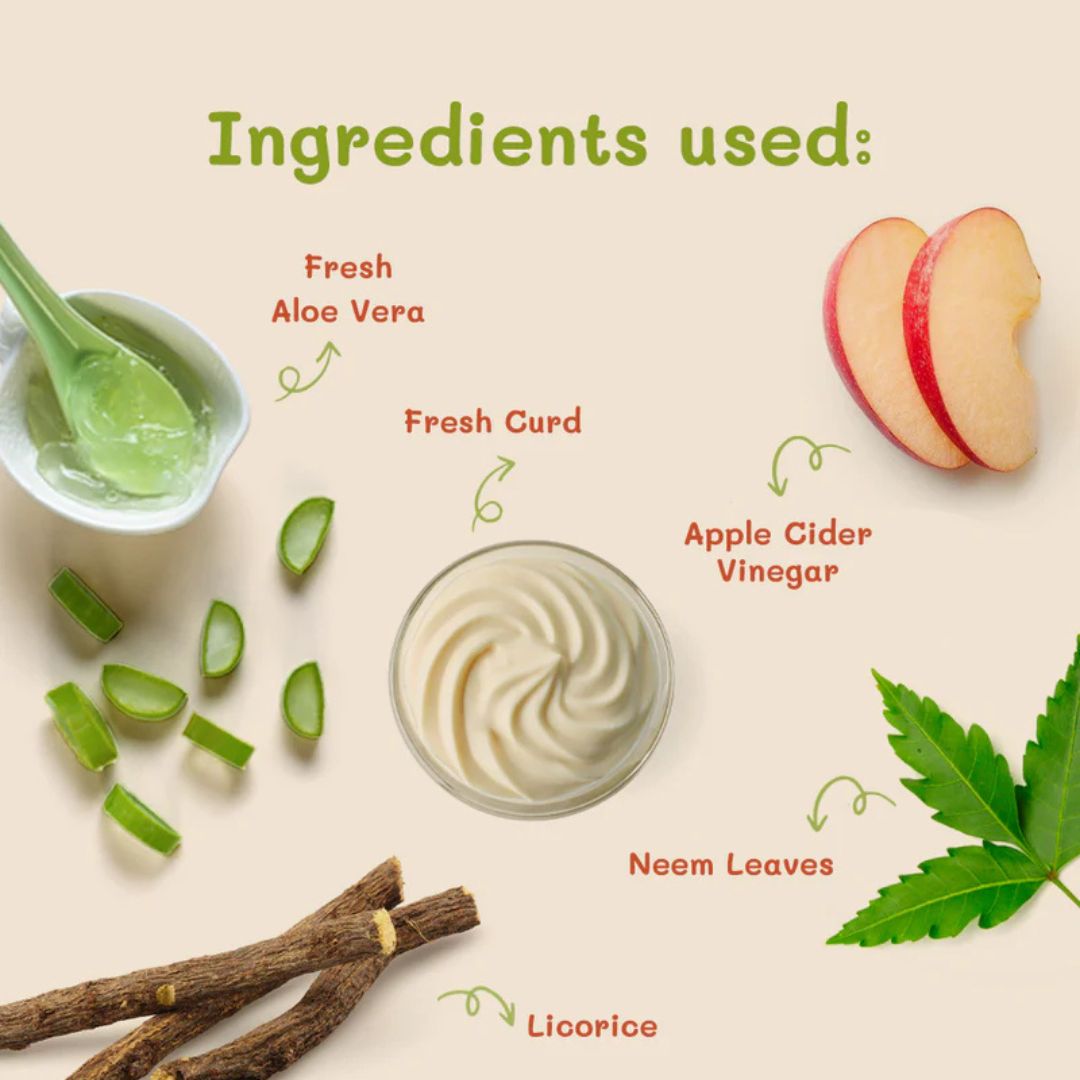
DIY Alternative: Natural Keratin Mask (No Chemicals) (Best Guide For Hair Keratin Treatment At Home)
If you prefer an all-natural route, try this DIY keratin-like hair mask:
Ingredients:
- 1 egg yolk (rich in protein)
- 2 tbsp plain yogurt
- 1 ripe banana (moisturizing)
- 1 tbsp olive or argan oil
- Few drops of aloe vera gel
Instructions:
- Blend all ingredients to a smooth paste.
- Apply to clean, damp hair from root to tip.
- Leave on for 30–45 minutes.
- Rinse with cool water and a mild shampoo.
While this isn’t true keratin, it nourishes and smoothens similarly.
Conclusion: Smooth Hair from the Comfort of Home (Best Guide For Hair Keratin Treatment At Home)
Keratin treatments at home are an effective, budget-friendly way to tame frizz, add shine, and restore life to tired hair. With the right product and technique, you can get near-salon results without stepping out of your house.
Just remember:
- Choose the right product
- Follow the steps carefully
- Practice safe aftercare
In just a couple of hours, you could be on your way to glossier, stronger, smoother hair — all from the comfort of your home.
Frequently Asked Questions (FAQs) (Best Guide For Hair Keratin Treatment At Home)
Q. Can I do keratin treatment at home without heat?
A: Some products don’t require heat, but heat sealing with a flat iron gives the most effective and long-lasting results.
Q. How long does at-home keratin last?
A: Typically 3–6 weeks, depending on your hair care routine and product used.
Q. Is keratin treatment safe for colored hair?
A: Yes, and it may even extend your color’s vibrancy by sealing the cuticle.
Q. Can I use oil after keratin treatment?
A: Yes, but use lightweight oils like argan or jojoba, and avoid buildup.
Q. Is keratin treatment good for curly hair?
A: It doesn’t remove curls but makes them looser, softer, and more defined.